Difference between revisions of "ShipEngine"
Jump to navigation
Jump to search
(Created page with "The ShipEngine integration will allow users to generate shipping labels from their preferred shipping carrier/service. However, before one can begin using ShipEngine, one must...") |
(→Setup) |
||
| Line 9: | Line 9: | ||
Go to the ShipEngine settings page. | Go to the ShipEngine settings page. | ||
| − | + | [[File:Enable ShipEngine - Step 1.png|frame|center|Enable ShipEngine - Step 1]] | |
| − | + | [[File:ShipEngine Settings.png|frame|center|ShipEngine Settings]] | |
Enter in your API key from ShipEngine (copy+paste is recommended). | Enter in your API key from ShipEngine (copy+paste is recommended). | ||
Revision as of 12:31, 18 January 2021
The ShipEngine integration will allow users to generate shipping labels from their preferred shipping carrier/service. However, before one can begin using ShipEngine, one must set it up, which is quite easy. Once it is setup, using ShipEngine is also easy.
Setup
To setup ShipEngine, follow the below steps.
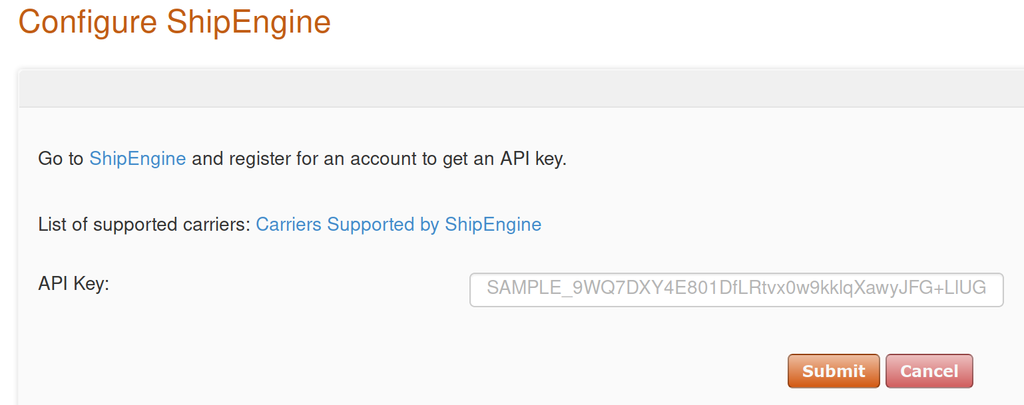
Go to https://www.shipengine.com/signup/ and setup a ShipEngine account. Once the account has been setup, you can choose which deliver services you would like to use by choosing them on ShipEngine. Once you have created and configured your ShipEngine account, then go back to your store's admin panel.
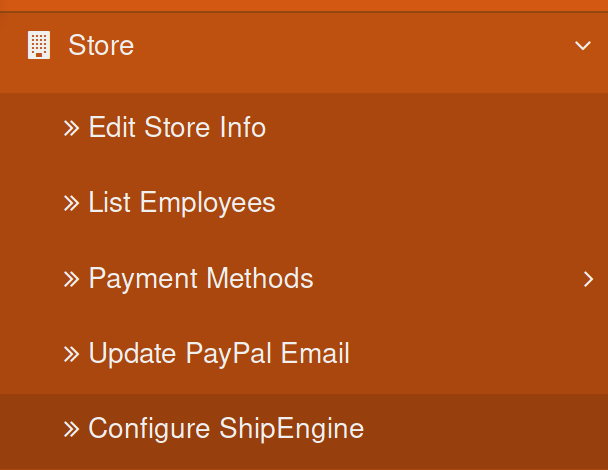
Go to the ShipEngine settings page.

Enable ShipEngine - Step 1

ShipEngine Settings
Enter in your API key from ShipEngine (copy+paste is recommended).
That is it; setup is done.
Using ShipEngine
PICTURE